Pictured above: Have you ever waded through anatomy books trying to work out what the heck is going on? These are some of my favourite artistic anatomy books but even so the process is grueling! (Bridgman, Bammes, Richer, Goldfinger, Raynes, Vanderpoel)
Years ago, when I was wading through artistic anatomy in order to draw the figure better, I found myself repeatedly confused as I flipped through a half dozen anatomy books, unable to see around the corner where the muscle finished or why it made the beautiful shape it did.
But I continued the grind, drawing the model from life, and working my way through parts of the body with mysterious lumps and bumps, trying to understand… I dug through books when there was some part of the figure that I could not translate into a simple series of lines - the real test of knowledge.
Pictured above: A wooden écorché (Spellati in Italian) by Ercole Lelli at the Anatomical Theatre at the University of Bologna
Eventually I found myself sculpting a skeleton and placing muscles over the top, just to make sense of all this overwhelming detail. This was before I knew about the tradition of making a écorché (a sculpted figure without skin) - it just seemed to me like the only way I would ever get to grips with it...
After teaching figure drawing and artistic anatomy to many people since then, I still think this is the only way to really do so. Literally “come to grips” with the subject because the hands on process of sculpting the shape of each muscle mass or group, seeing how they wrap around each other and are attached to the skeleton helps you to understand in a tactile way that goes beyond words or even pictures.
But even the traditional écorché has it’s challenges as a learning tool, in my opinion:
Detailed écorché classes can last for a very long time and be quite expensive, and in my opinion can sometimes over do the detail such that the overall patterns are lost in the mesh of dozens of extensors and flexors… we lose the wood for the trees.
I have also found that when students sculpt a skeleton, even small errors can make the proportions of the final figure look drastically wrong, which prevents the subtle changes to proportion that would bring it to life.
Making a symetrical pose, as is often done in écorché courses, doesn’t show the difference between, for example, a bent and a straight arm or the two sides of the body during a contapposto (weight on one hip) pose.
Finally, how does this relate to the actual aim of the exercise, which is to draw the figure better? I need to be able to integrate this knowledge into my drawing process in a way that makes for more powerfully convincing and alive figures rather than being largely irrelevant. Or worse yet, makes my figure more stilted, and mechanical.
To solve these problems I gradually developed a robust 3D printed skeleton model, industrially printed, correctly proportioned and posed to offer anatomical variety eg a bent and a straight arm, a pronated and a supinated forearm. I have organised the muscles into groups and colour coded them so that they can be added one by one in oil clay (plasticine) or drawn / traced over a figure. My aim was to include only those masses we are likely to distinguish in the living figure - for example I mass the flexors of the forearm into one unit, so that they are visible against the extensors and pronators, and certain bony landmarks since this is mostly what we actually see in real life.

Pictured above: my answer to the issues mentioned above
In order to overcome the problem of working with flat images I have made have made a sequence of 3D rotatable models embedded in my online notes that are the primary reference for the course.
Click the play button (and go full screen if you like) and then you can rotate and zoom in and out this example model.
Finally, the process of doing the écorché alternates with exercises in life drawing that relate in a range ways to the anatomical content, and we apply our growing anatomical knowledge to making more fluid, 3D and convincing figures.

Pictured above: The course alternates between the exercises in life drawing above and sessions doing the Simplified Ecorche such that we can relate one to the other. For instance, key bony landmarks of the torso are explained through the ecorche and become the basis for drawing approaches, and then practising these approaches helps to develop understanding of the anatomy further by studying it in the living subject. Click to see the overview of the life drawing curriculum.
Of course, you don’t need to use my online materials or my Simplified Écorché Kit to achieve this - there are other good anatomical models available, both digital (eg rotateable ipad apps) and physical. You would learn a lot by taking note of the issues above, and building your own skeleton onto a simple armature at about 1/4 life size. What I have done is to integrate it all in one place and provide a logical sequence so you don’t have to work all that out while you are meanwhile wrestling with the anatomy itself.
If you would like to order the kit or find out more go here: https://scottbreton.art/early-release-skeleton-kit
If you would like the Form, Gesture, Anatomy Course online book (with the rotatable 3D models of each stage of the anatomy course) plus my full life drawing curriculum with videos, hundreds of diagrams and illustrations go here: https://scottbreton.art/full-basic-ecorche-and-gestural-life-drawing-course

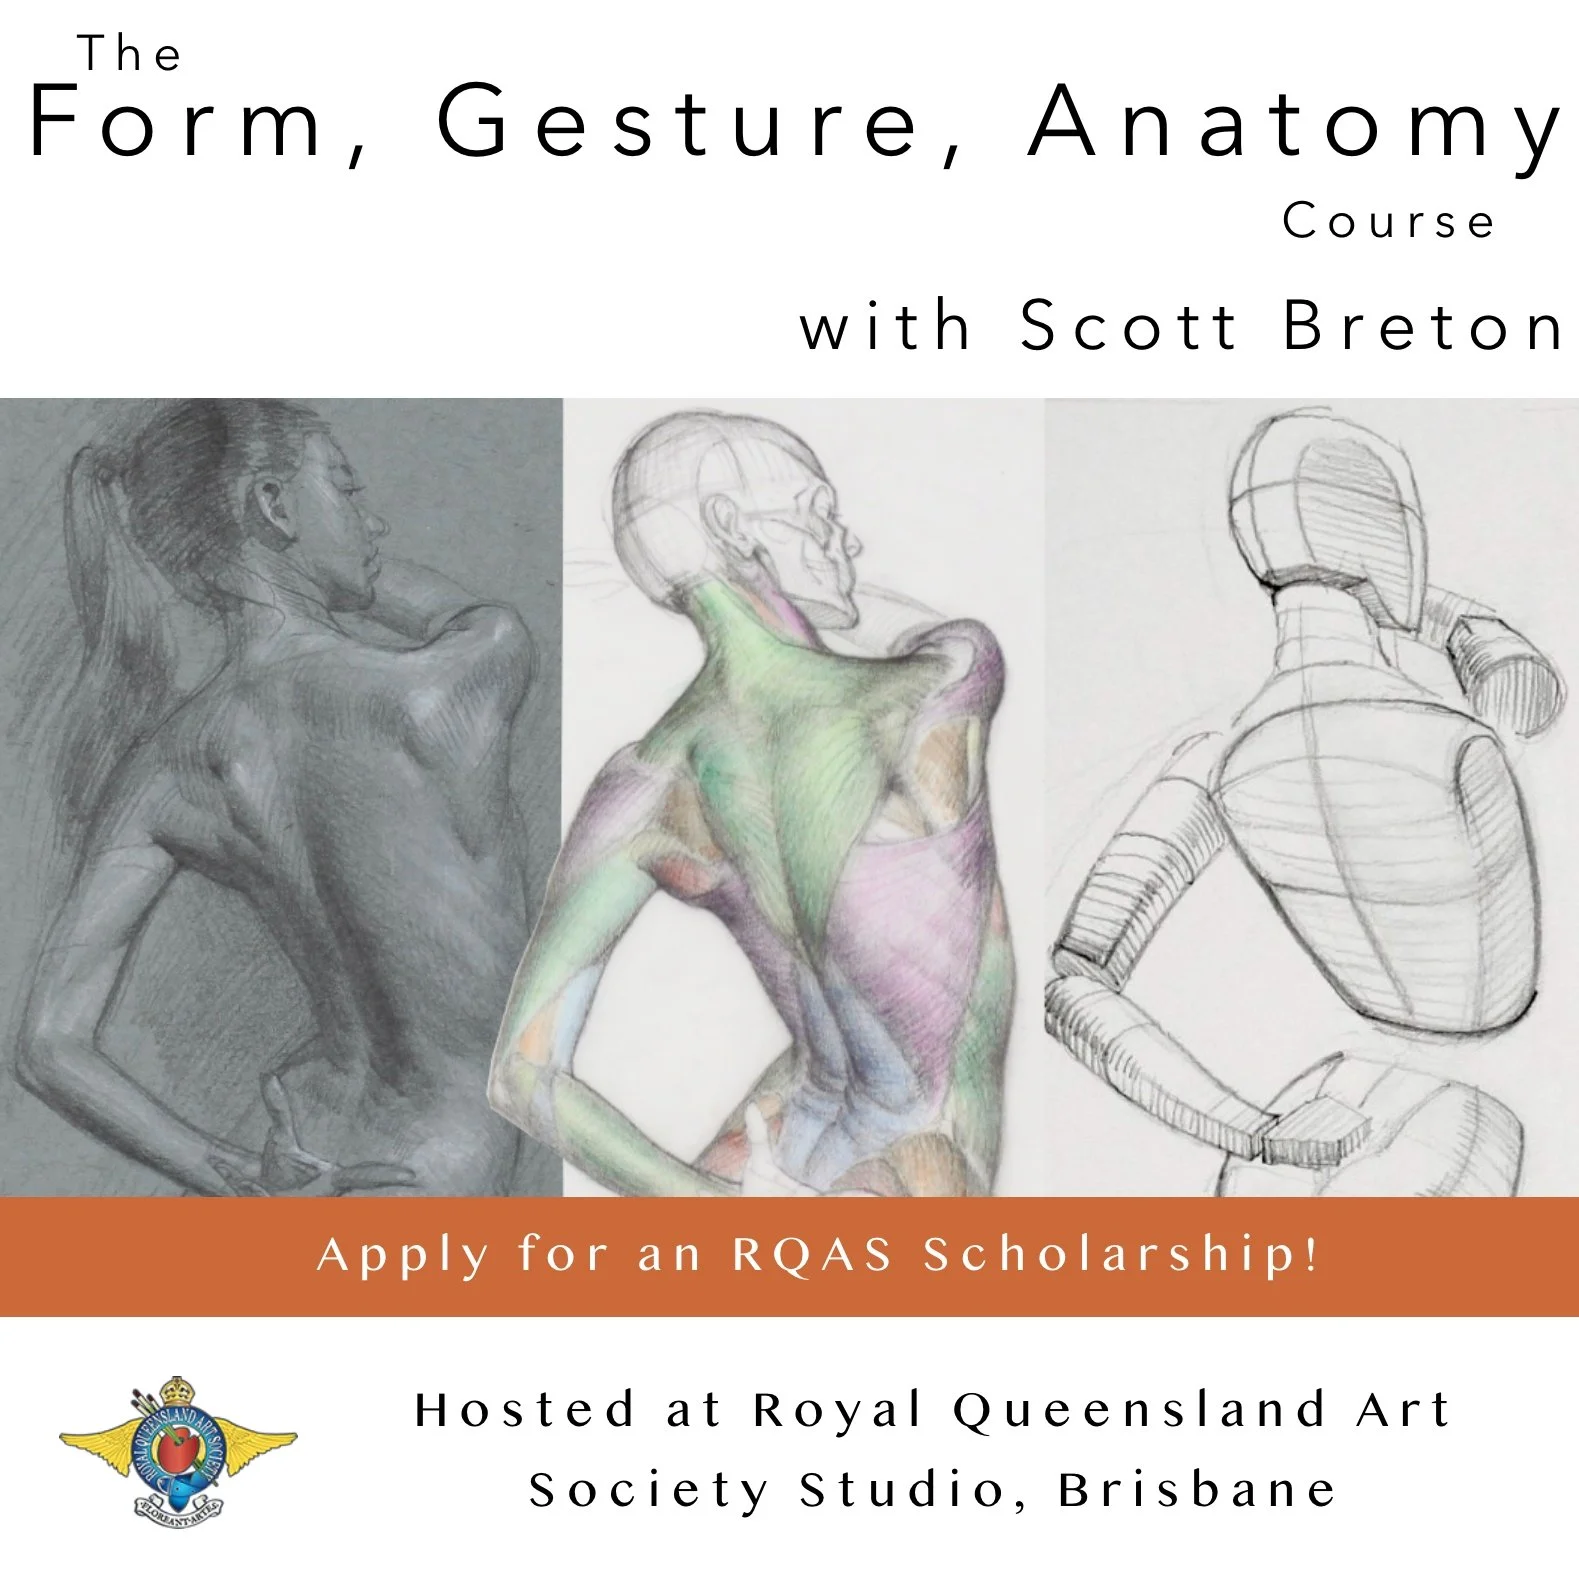
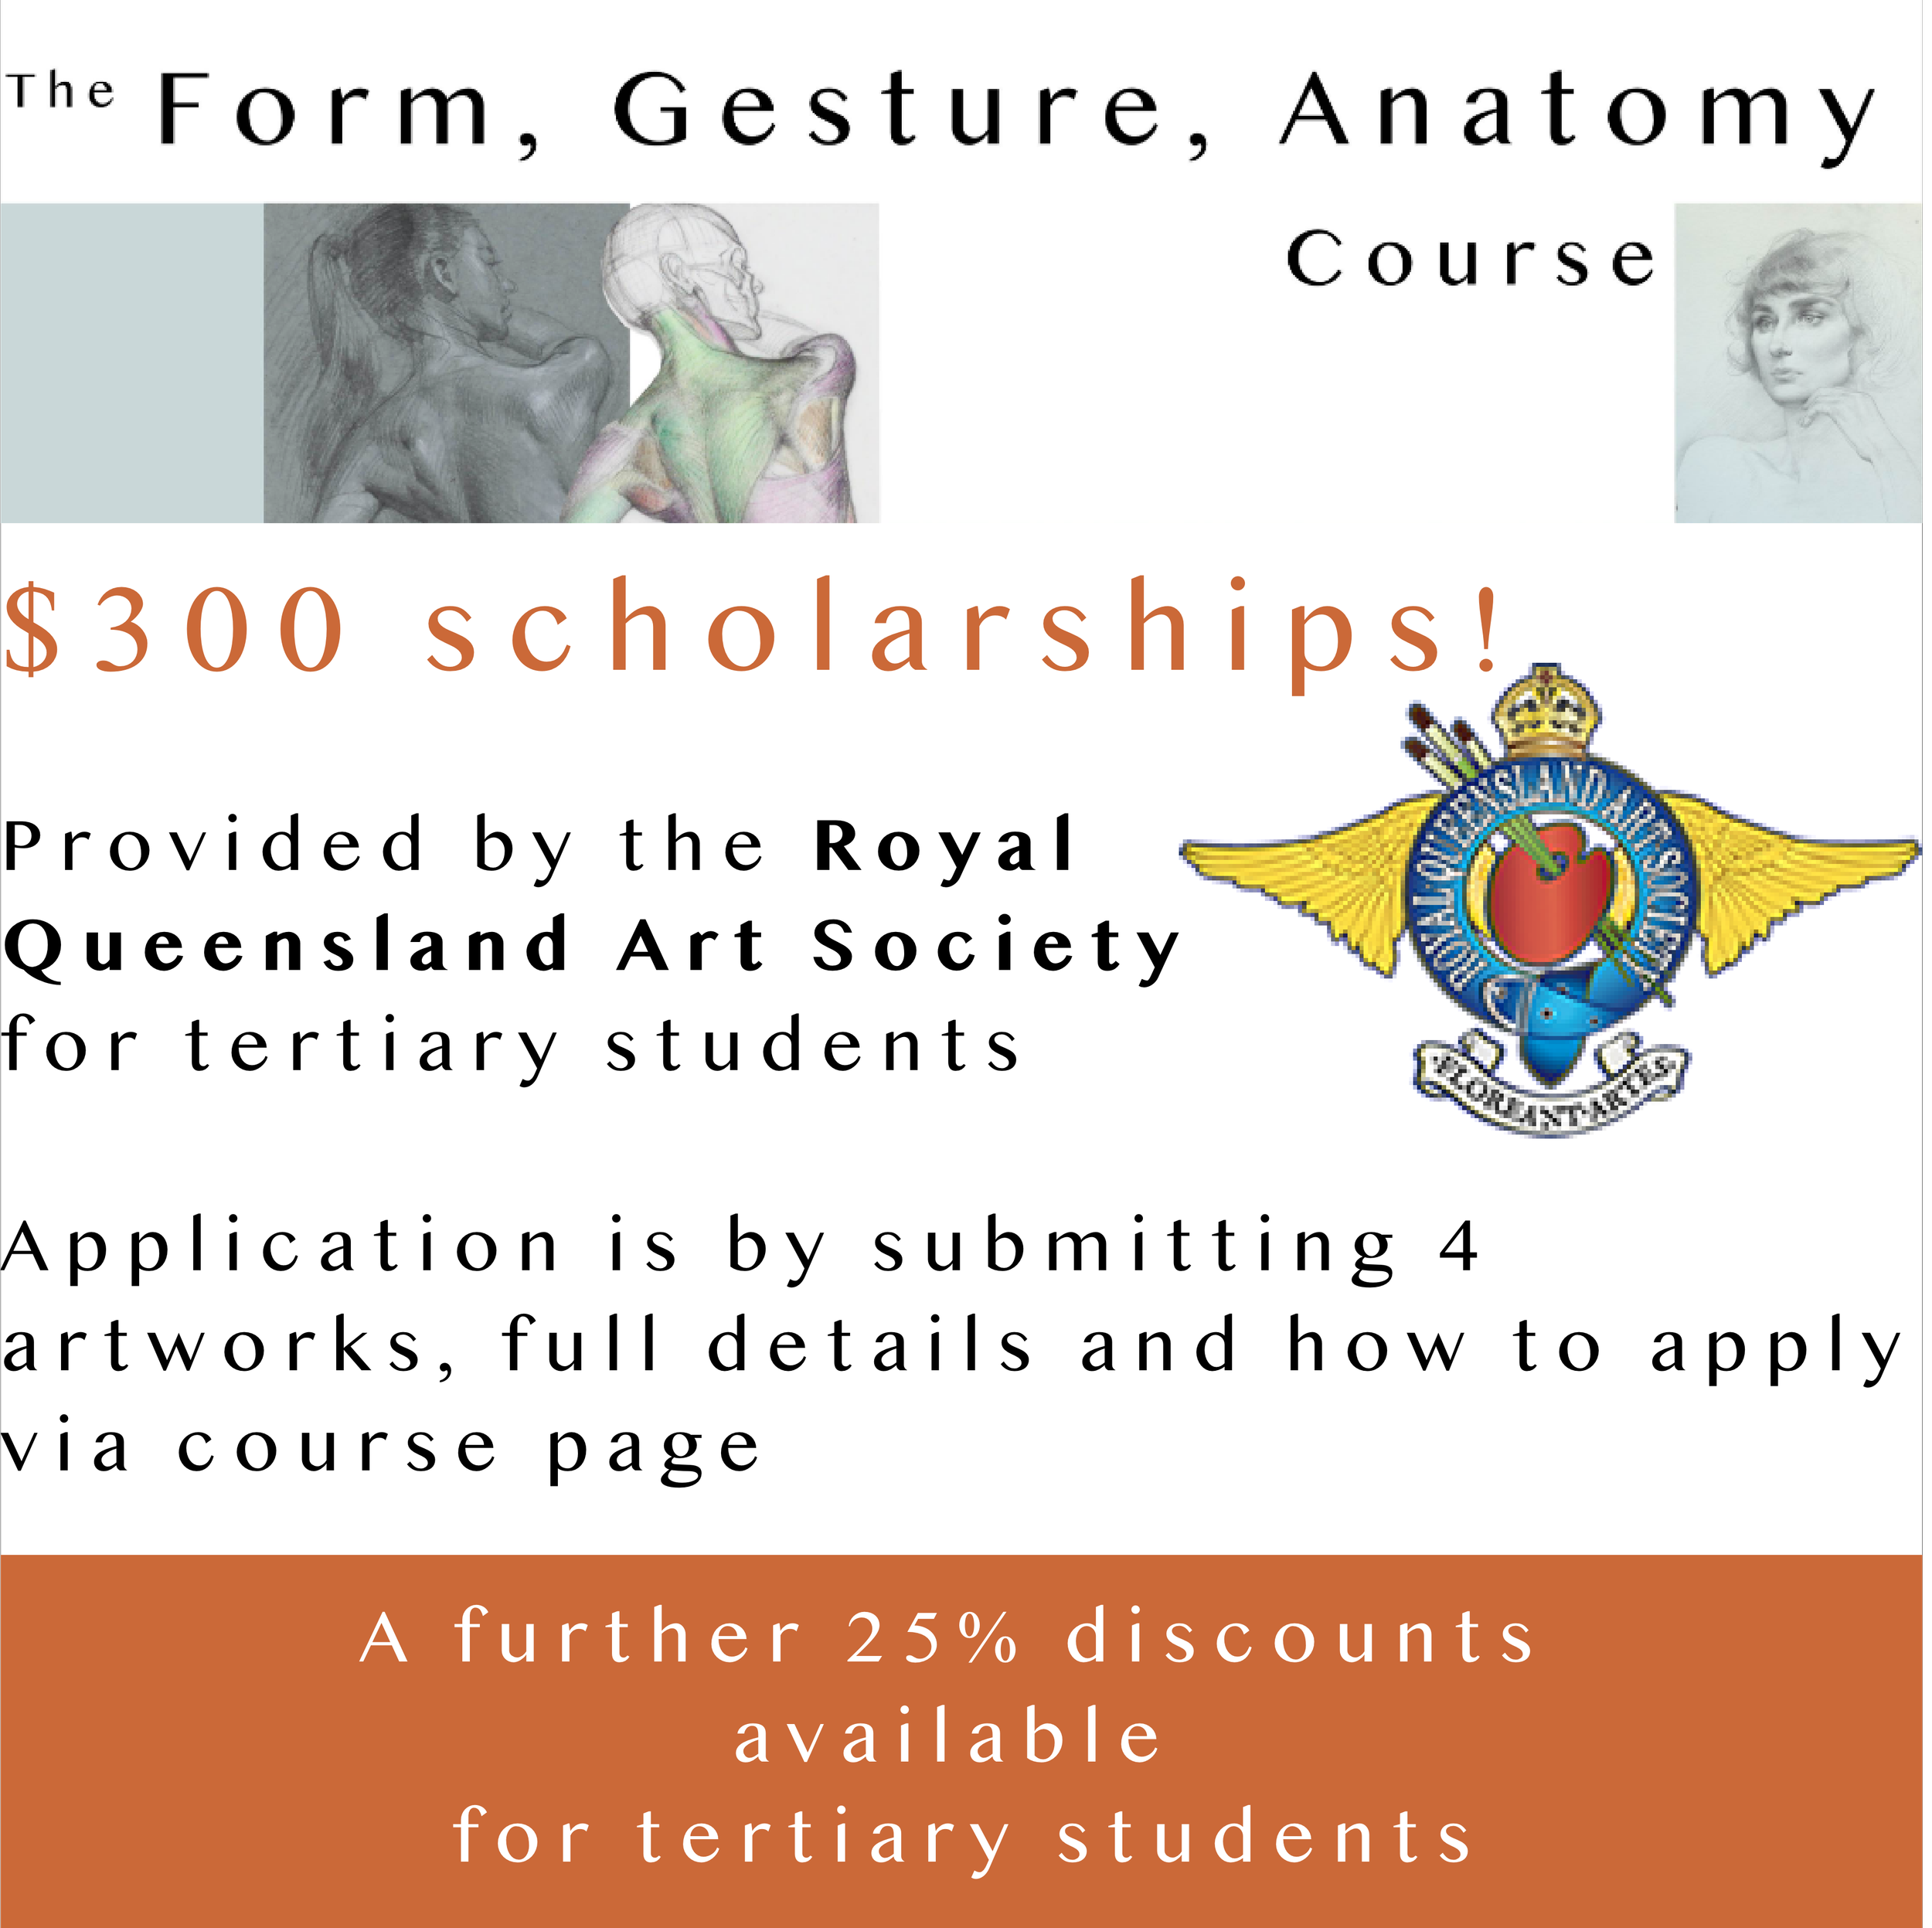
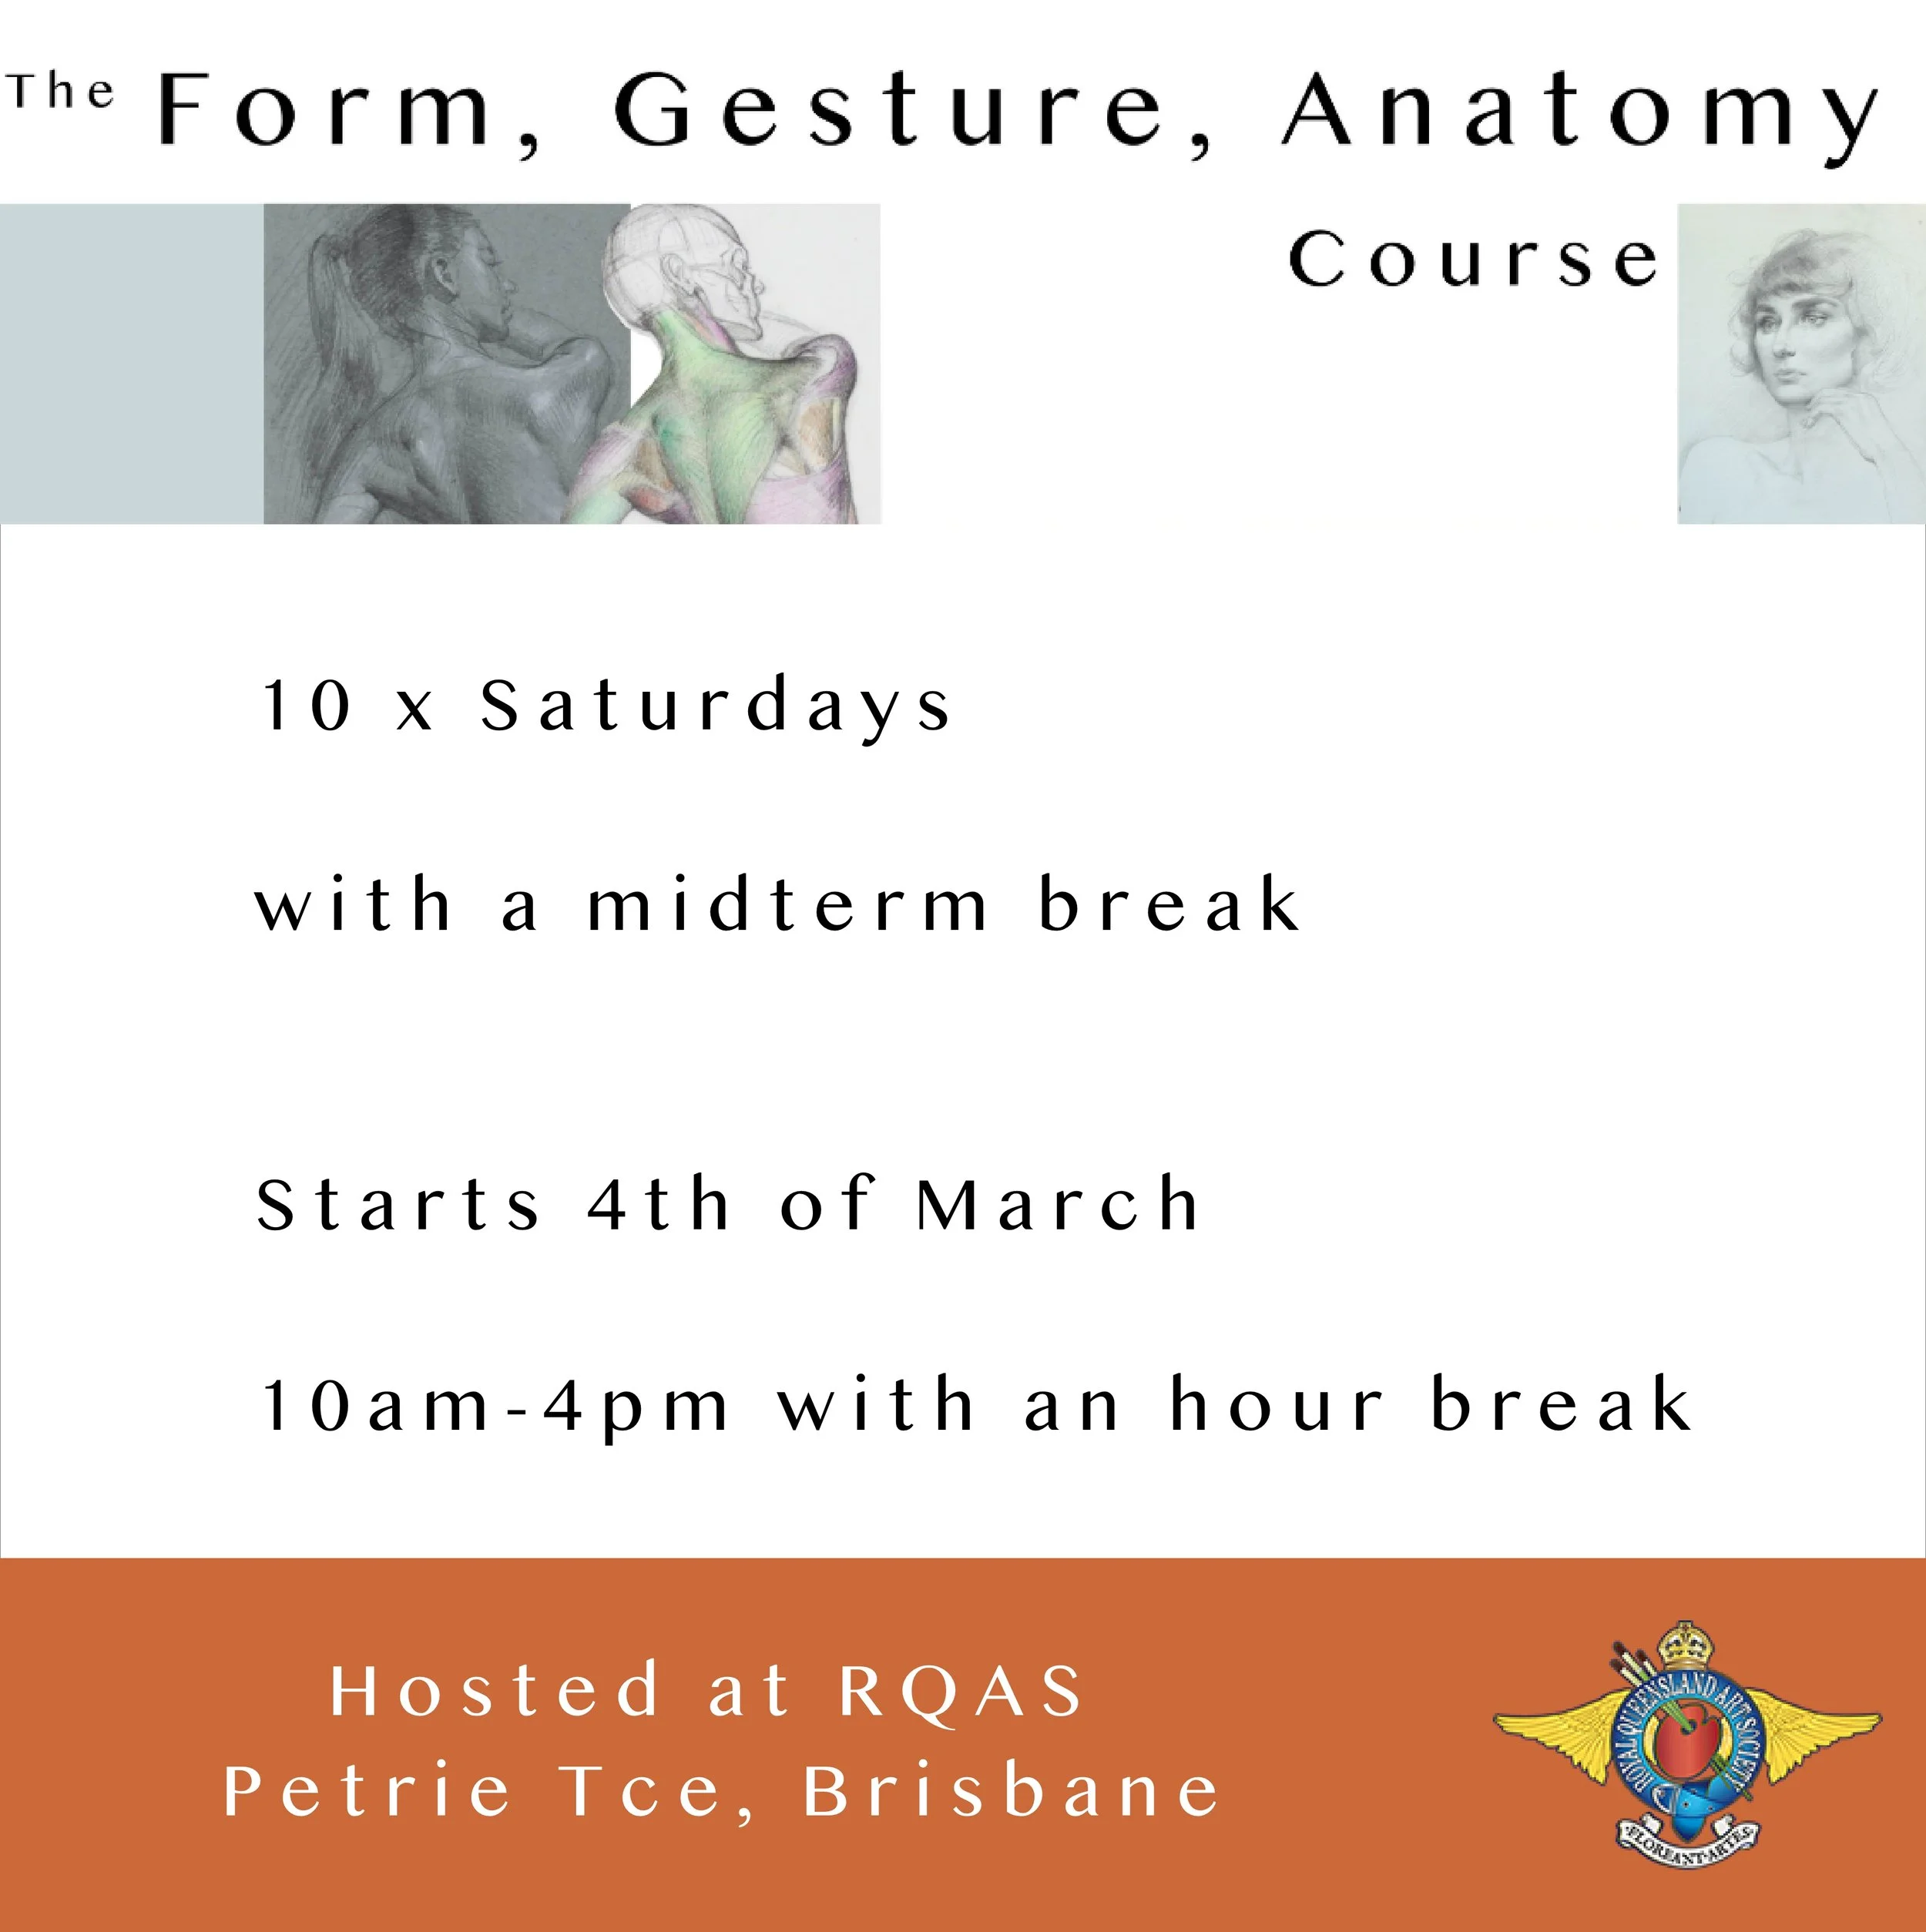
If you are in Brisbane, I will be delivering this full course starting 4th of March 2023 at the Royal Queensland Art Society studio on Petrie Terrace, you can enrol here: https://scottbreton.square.site/product/FormGestureAnatomycourseinperson/8
Use the code “earlybird” at check out for $120 off until the 29th of January.